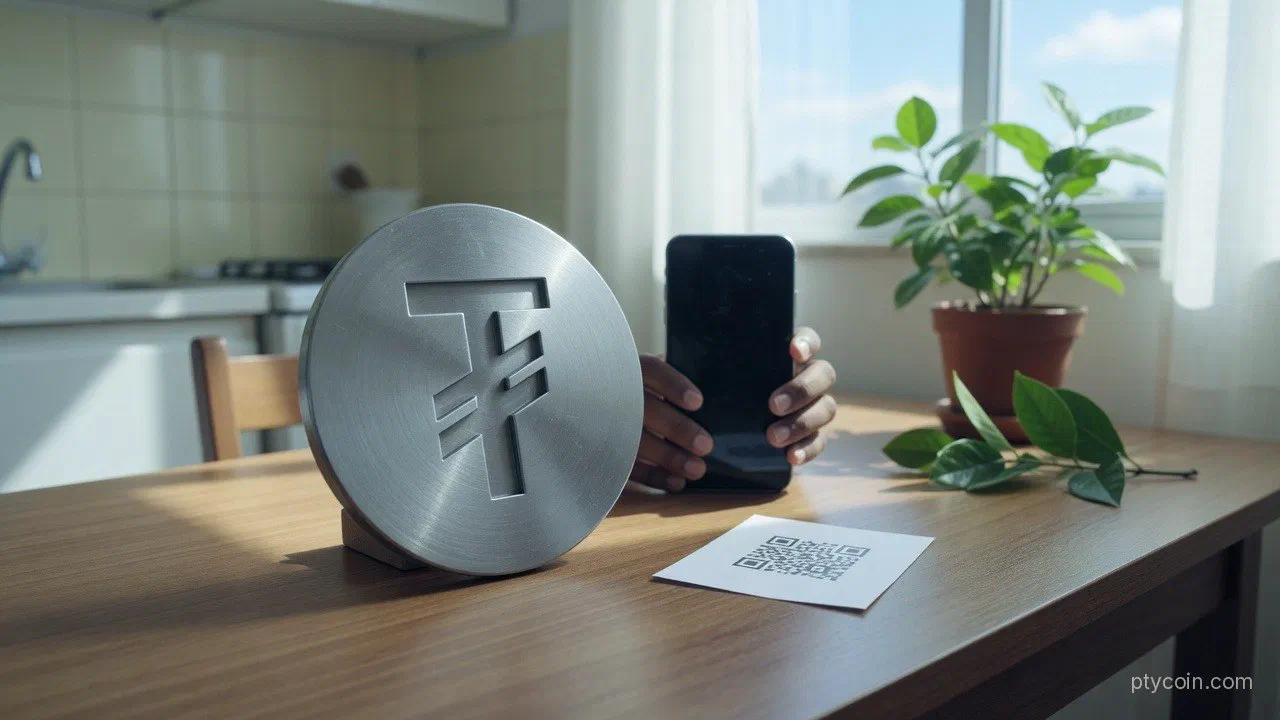
Yes. In Brazil you fund a regulated exchange with Pix, buy USDT (Tether), withdraw it to a wallet you control, and later reverse the path: deposit USDT, sell for reais, and Pix the balance to your bank. The round trip usually takes minutes once your account is verified. The traps sit in the middle: wrong network on withdrawal, P2P sellers who demand a third-party Pix, and forgetting that foreign or peer-to-peer volume above R$35,000 in a month can trigger a DeCripto filing.
This guide walks both directions with concrete steps. It pairs with picking the right network for USDT, gas planning so your stablecoins stay spendable, and moving crypto off an exchange. The Mexico counterpart is stablecoins and SPEI. Colombia’s is what Bre-B is and how it meets USDT. Pix gets you into and out of reais. Self-custody is what keeps the USDT yours afterward.
Not financial advice. Exchange menus, fees, and Pix limits change. Tax and reporting rules depend on your situation. Practice with a small amount first. Confirm every network label before you send. This is education, not a recommendation of any venue.
What Pix and USDT are doing in the same sentence
Pix is Brazil’s Central Bank instant payment system: seconds to settle, 24/7, via bank and fintech apps. You send reais to a chave Pix (CPF, phone, email, or random key) or a QR code.
USDT is Tether’s dollar-referenced stablecoin and Brazil’s default crypto dollar for hedging the real and moving value outside banking hours. It exists on many chains, so “USDT” on a withdrawal screen is a family of tokens. Network choice is load-bearing here.
The practical pattern is:
- Reais leave your bank via Pix.
- An exchange or mediated P2P desk credits BRL and sells you USDT.
- You withdraw USDT on a chosen network to your own wallet.
- Later you deposit USDT back, sell for BRL, and Pix out.
How to buy USDT with Pix
The safest beginner path is a Brazilian exchange that accepts Pix deposits from your own CPF. Local platforms already report to Receita Federal under DeCripto, so the monthly self-filing threshold for that activity usually does not land on you the way foreign or P2P volume can. Popular names change with marketing; the checklist does not.
1. Open and verify the account
Use the same CPF as your bank. Complete KYC (document + selfie). Turn on two-factor authentication before you deposit. Until verification clears, Pix is often blocked or capped.
2. Deposit reais via Pix
Open Deposit → BRL → Pix. Pay exactly the amount shown from an account in your name. Third-party Pix deposits get rejected and are a common P2P scam pattern. Credit is usually seconds; if nothing appears, check deposit history and your bank receipt before sending again.
3. Buy USDT
Use the USDT/BRL market or the app’s “Buy” flow. Compare the quote with a second venue. What you pay is spread plus fee. Start with a few hundred reais to prove the full path before you scale up.
4. Withdraw to self-custody
Open Withdraw → USDT and choose a network your wallet actually supports.
| Network you might see | Typical use | Watch for |
|---|---|---|
| Tron (TRC-20) | Low fees, wide LatAm support | Needs a little TRX for later sends — see gas planning |
| Solana (SPL) | Fast and cheap when both sides support it | Address looks different from EVM |
| BNB Smart Chain (BEP-20) | Cheap; common on some desks | Easy to confuse with Ethereum-style addresses |
| Ethereum (ERC-20) | Broad DeFi reach | Higher gas; overkill for small amounts |
Copy the receive address from your wallet on that exact network. Paste it. Check the first and last characters. Send a tiny test first and confirm on a block explorer before the rest. Wrong-network USDT is often unrecoverable — see the network guide and receiving safely. If your goal is self-custody, the buy is unfinished until that withdrawal confirms.
How to cash out USDT back to Pix
Reverse the path when you need reais.
- Send USDT to the exchange deposit address for the same network shown on the deposit screen. Test first.
- Wait for confirmations. The balance appears as USDT, not BRL.
- Sell USDT for BRL.
- Open Withdraw → BRL → Pix, enter your chave Pix, confirm.
- Check your bank app. Matching-CPF payouts are usually seconds.
If Pix fails, check name/CPF match and daily limits before retrying a larger amount.
P2P Pix: when it helps, when it bites
Peer-to-peer ads can clear when an order book is thin, and escrow can protect the crypto side if you follow the platform’s release rules. They also concentrate newcomer fraud: Pix to a friend’s account “because the limit is full,” a chave name that does not match the ad, pressure to release USDT before the Pix completes inside the P2P order, or a “support” chat asking for your seed phrase.
Stay inside the official order chat. Verify the recipient name. Never release early. Prefer a Brazilian intermediary for your first round trips until the flow feels boring.
DeCripto and what changes for you
Pix-to-USDT is legal. Clean records still matter.
DeCripto (IN RFB nº 2.291/2025) replaced IN 1.888 for monthly crypto reporting. Brazilian exchanges report client activity themselves. You self-report when you operate through foreign platforms, DEX venues, or without a Brazilian intermediary and the month’s aggregate crosses R$35,000. That threshold is an information duty, separate from capital-gains tax. How to export wallet history is in our DeCripto self-custody statements guide.
Separately, Resolução BCB 520 is authorizing virtual-asset providers through 2026. Prefer clear Brazilian intermediaries, keep Pix counterparties in your own name, and expect menus and limits to keep shifting as filings land.
Safety checklist before every Pix or USDT move
- Same CPF, same name. Pix in and Pix out should belong to you.
- Network match. TRC-20 to TRC-20, SPL to SPL. Never guess from the address shape alone.
- Test amount first. Especially the first time on a new network or a new exchange deposit address.
- Fee coin ready. USDT on Tron still needs TRX to leave your wallet later.
- No seed phrase anywhere near this flow. Exchanges and P2P desks never need your recovery words. If a chat asks, stop. See spotting phishing and fake wallet apps.
- Save receipts. Bank Pix proof, exchange trade ID, and on-chain txid. Future-you (and your contador) will want them.
Takeaway
Pix moves reais in and out. USDT holds dollar value on-chain afterward. Buy with a verified Pix deposit at a Brazilian venue, withdraw on a network your wallet supports, and reverse the path when you need bank money. The round trip is ordinary Brazilian plumbing. Care still belongs in the middle: network labels, custody, and the DeCripto line outside local intermediaries.
Practice once with an amount you can shrug off. Scale only the path you have already proven end to end.